![]()
|
© 2021 Drake Smith - Please do not use or reproduce this elsewhere. Feel free to link to it though. K75/K100 Low To Regular Seat Conversion (Regular to low seat conversion can be found at this link.)
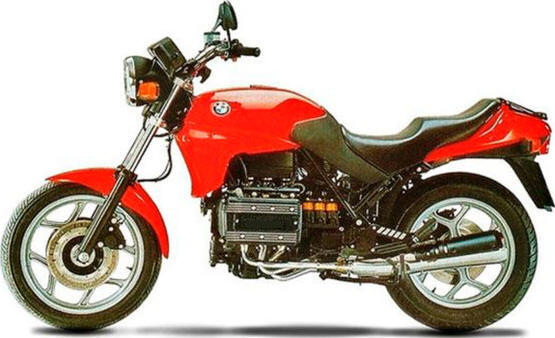
K75 with BMW Low Seat
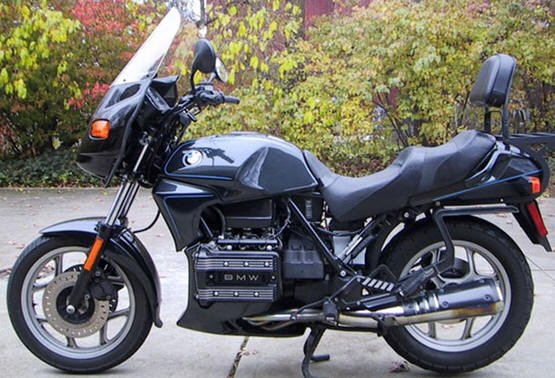
K75 with Corbin Low Seat
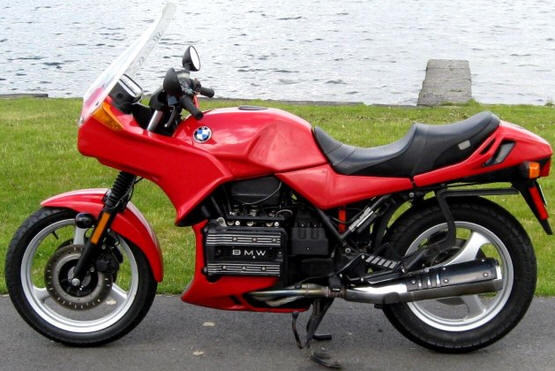
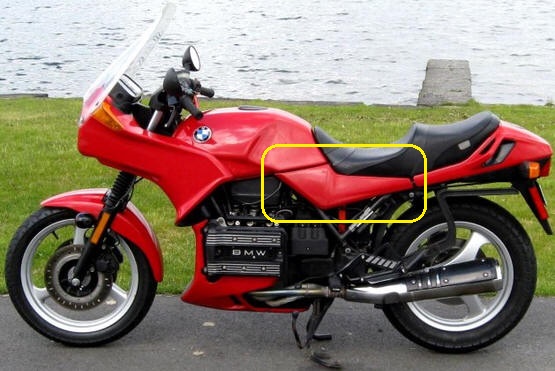
K75 with Regular Seat (Corbin Dual Sport) Introduction: Converting a K75 or K100 from a low seat to a regular seat is a bit more complicated than just swapping seats. There are quite a few different parts necessary. SIDE NOTE: As you'll see from reading this, not only the seat but many other parts need to be replaced. Instead of trying to source all of these parts separately you might want to try finding a person who wants to go the other way and swapping with them. This can save you time, effort and money. For example, by posting a "WTT" (Want To Trade) at: http://www.motobrick.com/index.php?board=35.0 or: https://advrider.com/f/forums/flea-market.14/
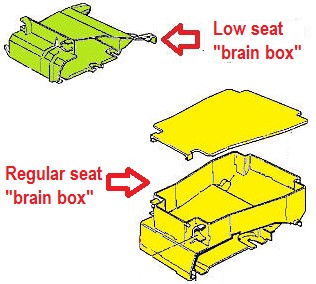
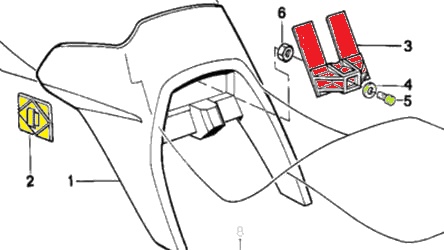
L-Jetronic Holder: There are two "brain boxes" that hold the L-Jetronic fuel control unit below the rider portion of the seat. You can use the low seat brain box when you convert to a regular seat but if you get the regular seat brain box it includes an extra storage compartment with a cover on the top. The lower parts in the diagram below. (BMW part 51161459061 for the box and 51161459062 for the cover.)
Tank Surround: The BMW low seat configuration has a large rubber piece around the back of the tank that needs to be removed. (Unless you have a Corbin brand low seat.) To remove that unscrew the bolt at the center rear of the tank. Part #5 in the diagram below.
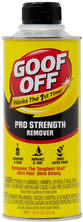
In the diagram above you'll be left with a Part #2 stuck on each side of the gas tank and Part #3 stuck to the rear of the gas tank. A good product for removing those is Goof Off. It dissolves the adhesive without damaging the paint.
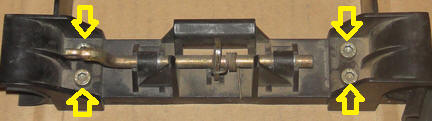
Seat Lock: The regular seat configuration utilizes a different seat locking mechanism so you'll need to remove the low seat locking hardware. Start by removing these four screws under the front of the seat.
Then undo the two 8mm nuts that hold the lock to the left side of the frame.
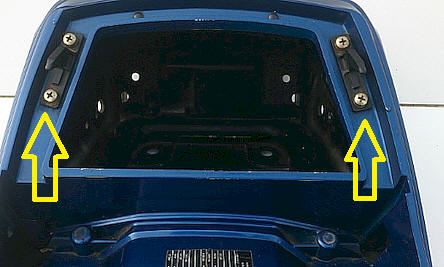
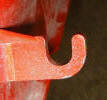
Rear hooks: The hooks at the tail cowl are no longer necessary so you can remove those. If desired, you can fill those holes with 5mm plastic hole plugs. (Or just be lazy and cover them with electrical tape.)
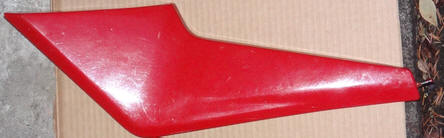
Battery Side Covers: You will also want to add the battery side covers that are used with the regular seat configuration.
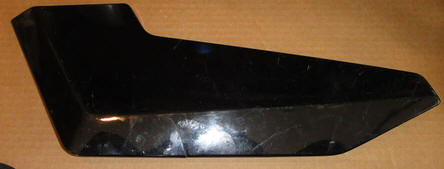
VERY IMPORTANT: There are three styles of side covers so make sure that you get the correct ones for the year and model of your K bike. 85 and earlier: These fit early K100s model year 1985 and earlier. They have a distinctive shape with two angular bends at the bottom instead of one bottom bend like later K bikes.
1985 and Earlier Side Cover
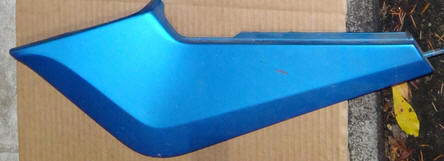
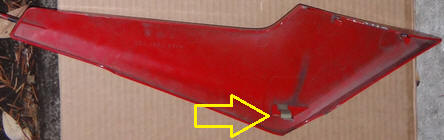
86 and later K100 or K75RT: These fit all K100s model year 1986 and later. Because the K75RT has a K100 gas tank these also work on K75RTs. They will not fit other K75 models. On the inside they have a plastic hook at the bottom.
1986 and Later K100 or K75RT Side Cover
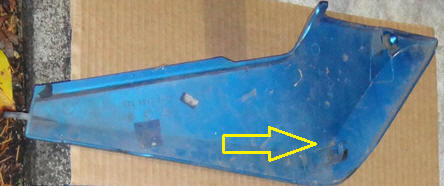
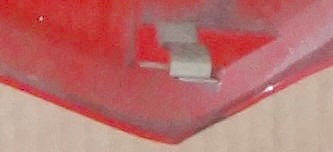
K75C, K75S, K75 Standard: These fit all years and models of K75s except for K75RTs. They will not fit K75RTs. On the inside they have metal spring at the bottom.
K75 Standard, K75C or K75S Side Cover
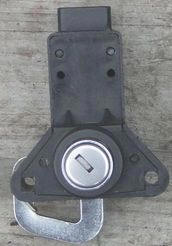
Install Regular Seat Lock: You need a regular seat lock - BMW Part 51251453653. Information on how to "rekey" the seat lock to work with your ignition key can found be at this link. You can do this later but you need to remove/re-install the lock to rekey it so it's best to do it before installing it.
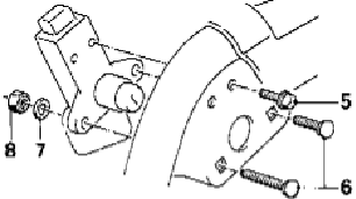
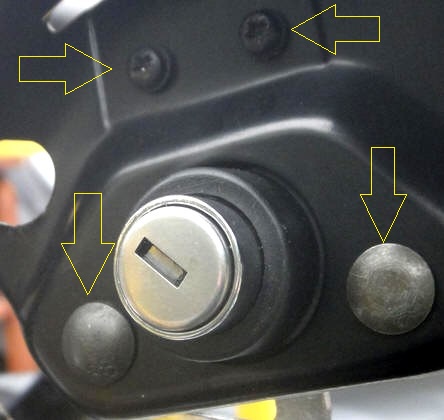
The regular seat lock installs in the same hole in the left side of the frame as the low seat lock. Insert it from behind and then install the two saucer head screws (6) and two small Phillips screws.(5)
When the key slot is in the most counter-clockwise position (see picture above) the seat lock is unlocked and the seat can be opened by pushing in the lock and lifting the seat. When the key slot is vertical the seat is locked. If you insert the key, push in and rotate the key clockwise then it opens the helmet lock. The chrome hook on the back of the lock is a helmet lock but it's a horrible design and pretty worthless for that function.
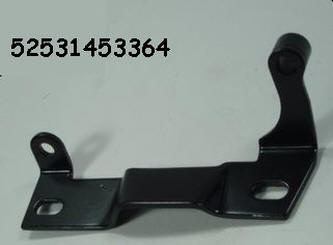
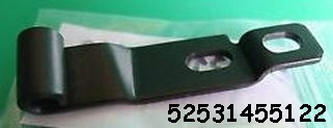
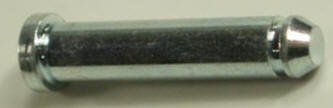
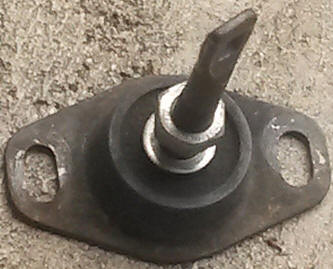
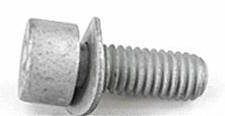
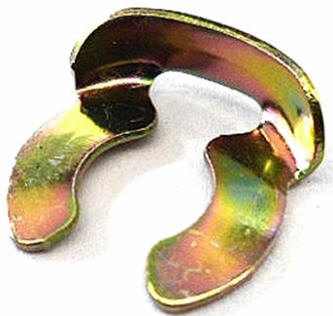
Seat Mounting Hardware: You'll need the following hardware to mount the seat:
Once you have all of those parts, follow this link to get the seat properly fitted and aligned.
© 2021 Drake Smith - Please do not use or reproduce this elsewhere. Feel free to link to it though. |
![]()