![]()
|
© 2013 Drake Smith - Please do not use or reproduce this elsewhere. Feel free to link to it though. K1, K100RS4V, K1100 Drive Shaft Phasing Proper drive shaft phasing reduces the stress and strain on the U-joints and reduces vibration. This also reduces the chances of one of the U-joints "exploding" and crippling the bike when you're out riding. This is worth doing because a new replacement drive shaft from BMW costs over $1,000. Your drive shaft could end up looking like this:
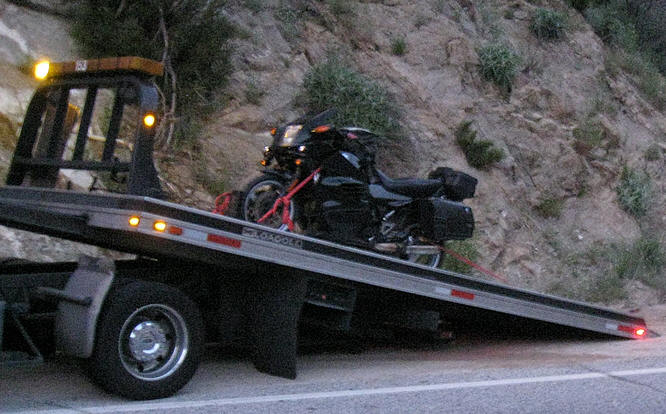
And your ride home could look something like this:
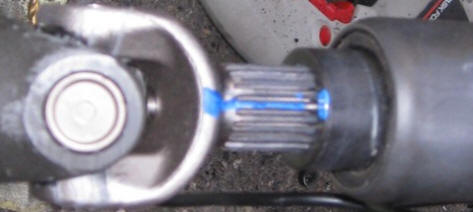
When assembling the front and rear U-joints should be aligned on the same planes as depicted below. If you line up the two halves of the drive shaft, you'll notice they are about one half tooth from being able to be perfectly aligned. This is because the front half of the drive shaft has some rubber that insulates the front and rear parts of the drive shaft. Phase the two halves of the drive shaft so that when that rubber flexes under load while accelerating that the U-joints will be aligned.
Before reassembling it helps if you put some paint or whatever on the rear face of the front half's splines and the rear U-joint.
© 2013 Drake Smith - Please do not use or reproduce this elsewhere. Feel free to link to it though. |
![]()