![]()
|
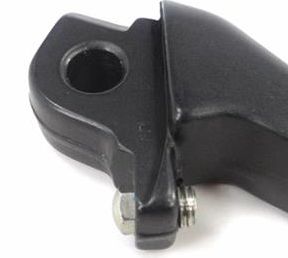
© 2018 Drake Smith - Please do not use or reproduce this elsewhere. Feel free to link to it though. Improve Braking on a K75/K100 (non-ABS) (Updated November, 2018) IMPORTANT DISCLAIMER: Brakes are a critical safety component on motorcycles. This is what I do and am comfortable with. I do not warrant in any way that anything about this is the "right" way to set up your brakes. Only do this if you are comfortable with it and willing to take sole responsibility for it. If you don't trust your own skills then you're better off having brake work done by a certified mechanic. Over the years BMW made three different brake levers for K75s and K100s. One of them has a set screw in it that allows you to adjust the contact point between the brake lever and master cylinder piston to your liking. The part number for the adjustable brake lever is 32722310112.
The OEM front braking on 2V K bikes can be rather anemic even if you bleed them annually with fresh DOT 4 brake fluid. (Only use DOT 4 brake fluid in your K bike.) Not to mention how overly complex and dorky the early K bike front brake setup that goes through the steering head is.
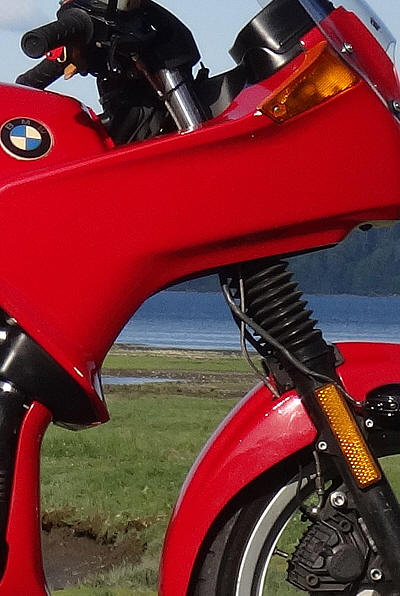
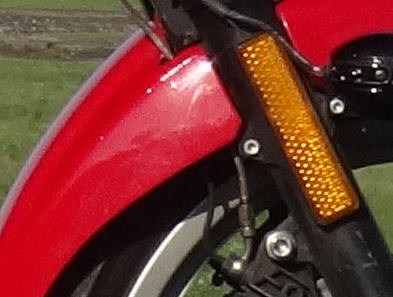
And buying "custom" braided stainless kits from the usual suspects can be rather expensive. Here's my solution that I've employed on several K75s and a K100 to make the braking better at a reasonable cost. It's a very simple system with a single braided stainless steel brake line from the master cylinder to the right caliper and then a metal line from the right caliper to the left caliper. (The metal line is a BMW part made for later model K75s.) Here's an example on a K75S:
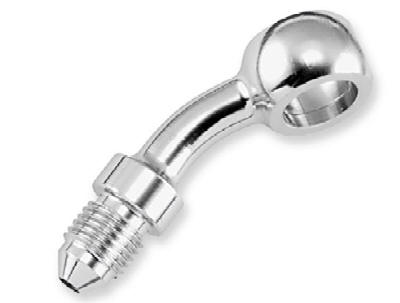
Parts you'll need: 1) 2 Goodridge 3/8" 35 or 45 Degree Banjo Bolts
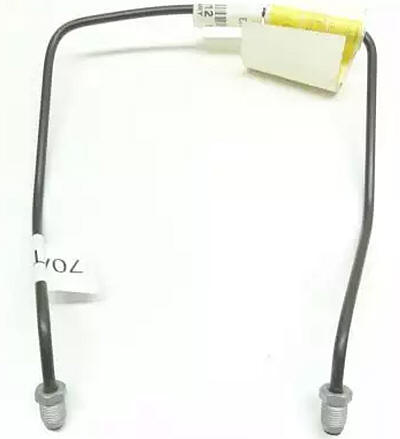
2) Goodridge 26" Universal Braided Stainless Brake Line (available in clear or black covering) 3) BMW "Brake Pipe" - Part 34322312691 (about $17 in 2018)
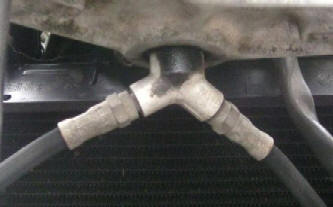
Installation: 1) Remove the rear fender half and leave the calipers installed on the forks. 2) Bleed the system and remove all of the old brake lines. If you have the system that passes through the steering head then that brake pipe with the Y at the bottom can be removed by undoing the nut at the top of it and pulling it out from the bottom of the steering head. 3) Install the BMW metal brake line between the inner holes on the brake calipers. Get the fittings at the ends of the metal line tight but be careful not to over-tighten them and strip the threads in the calipers. Note that when you put the rear half of the front fender back on that you may have to bend the metal line around a bit to get it to fit under the fender. Within reason, it's OK to do that. Also make sure that the metal brake line is not rubbing on the tire. 4) Install a bleed valve in the outer hole of the left caliper. (Torque: 7 Nm - 62 in-lbs) 5) Using crush washers above and below a banjo bolt, attach it to the outer hole of the right caliper. There's no need to get it really tight now as you'll later need to rotate it a bit once you get the line installed.
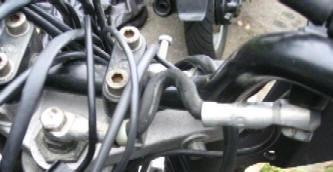
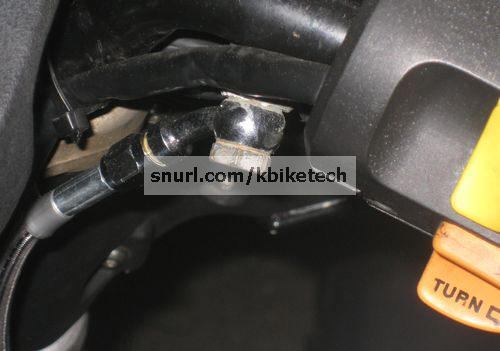
6) Using crush washers above and below a banjo bolt, attach it to the bottom of the front master cylinder. (Torque: 11 Nm - 97 in-lbs) If you don't have a torque wrench be careful not to over-tighten the banjo bolt and strip the threads in the bottom of the master cylinder which will destroy it (A new master cylinder from BMW costs almost $200.)
7) Attach the 26" brake line between the master cylinder and the right caliper banjo bolts. 8) Adjust and tighten everything. You may want to add a loose zip-tie around the right fork and the brake line above the lower fork tree in order to keep the brake line lined up with the fork. 9) Bleed the air from the stainless line by putting DOT 4 brake fluid in the master cylinder reservoir and slowly repeatedly squeezing the front brake lever until bubbles stop appearing. It helps bleeding if you turn the handlebars to full lock left and then loosen the throttle perch clamp to rotate the master cylinder until the bottom of the reservoir is level. In order to bleed the metal line between the calipers, remove the calipers and hold them with left caliper above the right caliper so that any air in the system floats up to the bleed valve. Keep squeezing, be patient. Top off the master cylinder reservoir, replace the cover, return it to it's regular position on the handlebars and then tighten (don't over-tighten) the perch clamp screw. 10) Reinstall the calipers and rear half of the front fender. 11) Go for a test ride. Before doing so pump the brake lever a few times to make sure that the pads are settled on the rotors. When you go for a test ride be sure to exercise caution. Your brakes may work much better than before and squeezing too hard may cause your front wheel to lock up and wash out. Conversely, if you didn't get all of the air bled out of the system then your brakes may be softer than you expect. No hole in the fender for the brake line: If the rear half of the front fender doesn't have a hole in it for the brake line to pass through as pictured above then you'll need to take a slightly different approach. You'll want to use a right angle banjo bolt at the caliper, run the line outside of the fender and use a BMW brake line holder.
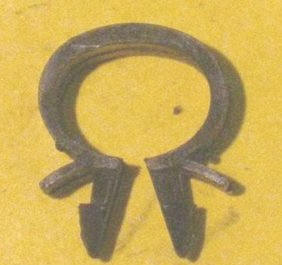
BMW "Cable Holder" Part 61131369668 (about $1)
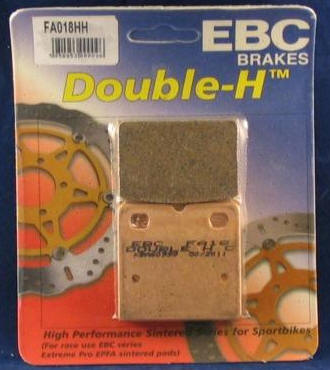
If you still want better braking once you've done the above then you can use sintered brake pads. These have a better "bite" than conventional organic/Kevlar brake pads but do so at the expense of the brake rotors wearing down a little bit faster.
© 2018 Drake Smith - Please do not use or reproduce this elsewhere. Feel free to link to it though. |
![]()